"R2"
Frankenbrew Keg Cleaner
In our little brewery in Ridgway, Colorado, we decided to serve our beer out of serving tanks. However, even with this set up we would need a small amount of kegs, so that when a tank was almost empty, we could rack the rest of the beer into them and move a different beer back into the serving tank.
Even with a small inventory of kegs we needed a way to clean them that didn’t involve a large and expensive automatic keg washer. So we invented our basic Frankenbrew Keg Washer that uses just our sink and a simple manifold system.
When we opened our brewery in Montrose, Colorado, we took it a step further. I was thinking that we would need a grant for the mash tun, and just like in Ridgway, I wanted to use a converted Sankey keg with a tri-clamp on the side for an outlet. Then I began thinking that a keg is much like a sink, so why not turn it into a combination grant and keg cleaner. It would serve two functions and because of its shape, we started calling it “R2”.
Then I realized it could also serve as a CIP unit as well, so we changed the name to “CIP3O”. Next I realized because it is a keg, you can use a simple home brew false bottom that you can purchase at a home brew supply. It is made to turn a keg into a small mash tun, but with that false bottom “CIP3O” could also be used as a hop-back. Now, that’s four functions and we ran out of cute names, so we just call it “R2”. Let me explain how to build one.
First of all, this invention is for a brewpub that uses serving tanks to deliver beer to taps. One of our goals was to eliminate the great need for a lot of kegs. For example, at Colorado Boy, the most we would need is about twenty per week. More typically only eight.
The first thing you want to do is get someone who knows how to weld stainless steel. This man or woman will be your best friend in the brewing business.
Next you want to purchase two tri-clamp butt welds. One will be welded directly in the middle of the bottom of the keg. The other one is welded onto the side.
First remove the spear. Next your welder will cut an opening in the top of the keg as wide as possible while still leaving the handles in place. In addition, weld four posts on the bottom sides of the kegs that you can insert wheels into. Also, using stainless angles, make a support that goes on top of “R2”. You need enough room in this support so that when a keg to be cleaned is on top of it (upside down) you can easily get your hand in there between the keg cleaner and the keg to operate the valves. If I built another one, I would make it a little shorter. I will explain the process later.
You also attach a manifold to the front of this. It can be secured with some simple brackets to the support system on top of “R2”.
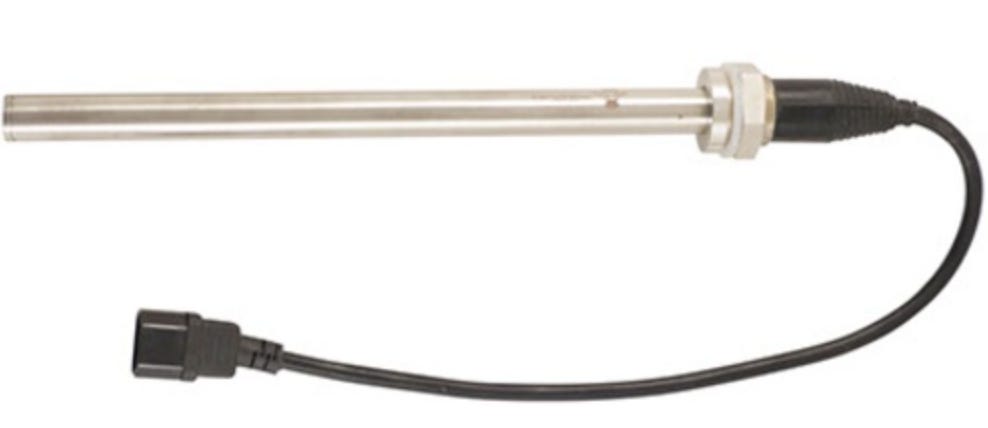
One last thing needs to be welded onto the side about a third of the way up from the bottom. You can purchase this item which is an electric heating element, from a home brewing store. Next get a stainless steel nut that matches the threads on the heating element. Once you have this, cut a hole big enough for the heating element, and weld the stainless screw onto the hole. Your heating element will screw into the side. As long as you are welding, go ahead and attach a small hook next to this. The hook will allow you to coil the cord up and hang it when you are not using it.
Here is a video showing this unit cleaning a keg.
When we are not cleaning kegs, “R2” wheels under the mash tun and out of the way. During a brew, we use it for our grant. Basically wort flows out of the mash tun into the grant, then from there, it is pumped to the kettle. It’s very simple.
From the bottom tri-clamp we attach a 90 degree tri-clamp angle and then a butterfly valve at the end. We also add a butterfly valve on the side tri-clamp as well.
Confused? Watch the video of a unit cleaning a keg. It takes about eight minutes to clean a keg. Next week I will explain in detail how it all works. I’ll take some better pictures too.


