Building A Small Brewpub - 11
The following is a fictional description of opening a brewpub
With the plumbing done my goal is to work on the beer cooler. It’s a simple concrete floor that slopes to a circular drain in the middle. There are lots of ways to deal with floors in a brewery, and here is a cool video that my friend Dean Rouleau sent me, but instead I’m going to seal the concrete with a clear concrete sealer and be done with it. Brewing chemicals are so harsh they eat through almost anything so by using a clear coat, it will still look ok.
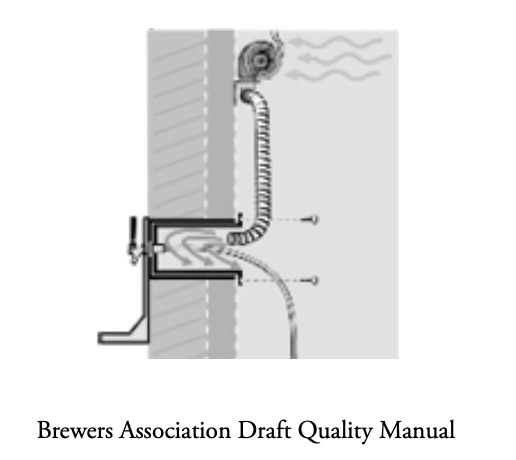
I’m going to run the draft system directly through the walls. I found this in the Brewery Association Draft Quality Manual. I’m not sure I will need the fan but the rest of it looks spot-on. Here’s how I will do it.
First I need to purchase these things from Foxx Equipment:
A pack of 100 Odikers (hose clamps)
100 ft. of vinyl tubing 5/16 ID
3 pressure pass-through regulators, one for each tank (Turns out I can only fit 4 for now in the cooler)
1 more CO2 regulator that will be in the cooler to hold a line for CO2 to use for carbonation.
Female quick-connects. One for each tank, and one for CO2 line, and a couple more for general brewery use.
Male Quick connects. One for each tank plus two more to be used for other areas of the brewery
8 Pass-through shanks for 8 taps in the bar. They go through the cooler wall. 8 because 4 will come off the tanks, but 4 more can be from kegs.
8 beer faucets, good quality ones!
8 Sankey taps.
5 beer nuts, 4 for kegs and one for a tap to be used with a keg cleaner
5 hose barbs to go with the nuts
4 Tri-Clamp to beer nut thread to convert some of the Sankey Tap.
hose barbs for the ball valves.
Tri-Clamp to 3/8 Male to fit into the ball valves opposite the hose barb side.
On the inside walls I put up FRP and sealed all the seams. These are great for wet environments. I also put in LED light fixtures that are dimmable. I want people to see the tanks but I don’t want it too bright that it interferes with the lighting in the bar area.
To cool the space I cut a hole in the outside back of the building and mounted a simple 24k btu air conditioner that pokes into the beer cooler. Inside the cooler I have two electric outlets. One can handle 20 amp 115v for my pump, and another simple 115v to handle the low voltage needs of a coolbot. There is a heating element in the coolbot that gets coupled with the air conditioners’ temperature sensor. There is a cool instruction video here. Power to the air conditioner unit is on the outside and I built a cover for it to keep the sun off in the summer and snow off in the winter.
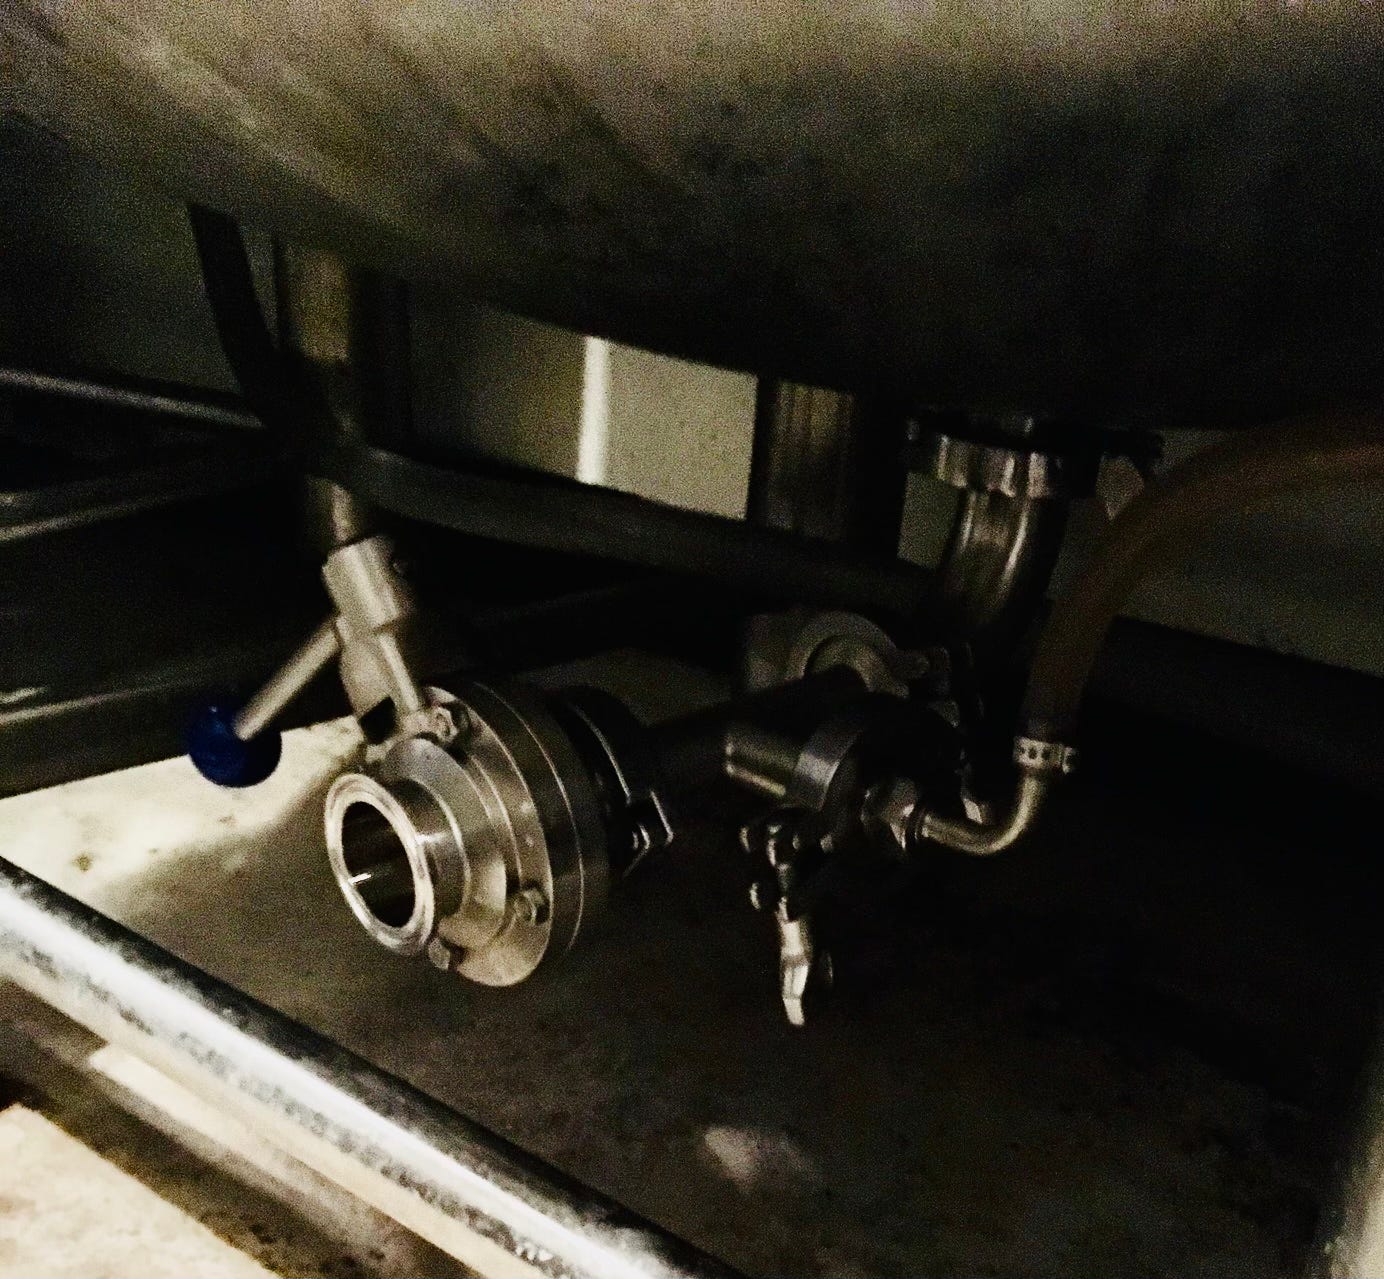
As for the tanks themselves, on the top Tri-Clamp opening I will add a Tri-Clamp Cross . At the top of the cross I will add a 90 degree elbow with a pressure release attached. On the two sides of the cross will have a ball valve to tri-clamp piece. This is where the beer gas will enter the tank. On the other side will be a Tri-Clamp to hose barb that will attach to a clear vinyl hose that goes down the side of the tank to the bottom outlet, where there is a Tri-Clamp tee with another Tri-Clamp Hose barb. This will become the site glass.
On the inside of the tank is a spray ball at the top. When I want to do a CIP (clean in place) I will take the pressure relief off the 90 degree (after I have releases all the tank pressure!) and my cleaning product will go through that and into the spray ball with force cleaning the tank. It will collect at the bottom of the tank, exit and flow to the pump, which will in turn pump it back up to the spray ball. While it is doing this it will also flow through the site glass and clean that as well.
To get these tanks ready for beer, the first thing I will do is a good PBW (cleaning product) CIP for 20 minutes. This of course is after I rinse that tanks out. Then I will use Acid #5 from Five Star Chemicals (Birko is another great company) and do the concentration of acid to water that it shows on the label to do a pacification of the tank. When that gets done you simply let it air dry. It will be clean then and right before I transfer beer into the tank I will sanitize it.
With the all the taps and lines installed, plus refrigeration, thanks to my coolbot, and the tanks set up and clean, that is one thing I can now scratch off my to-do list.
Our plumbing inspections are over and so is the electrical inspection. My next big task is to put the kitchen together. But I haven’t forgotten my check-lists. Each position now has one in place that shows how to open and close each position, and I also added in the middle of the page a weekly side-work duty as well. This now takes care of everything that needs to be done each day and also once or twice a week.
My energy is still strong, buoyed by seeing the progress!
Sequence of Events
Find a suitable location - check
Draw up a floor plan - check
Check with the town zoning to see if a brewpub is allowed in that location - check
Get someone from the building department to do a walk through in the space while showing them my plan to see if they see any pitfalls - check
Set up Company - check
Set up bank account and fund - check
Draw plumbing plans - check
Draw up detail kitchen plans - check
Meet with architect and engineer - check
Apply for state and federal licenses - check
Come up with a name - check
Get insurance set up - check
Acquire additional funding - check
Sign the lease - check
Demo for plumbing - check
Hire Contractor - check
Start acquiring equipment - in progress
Start on Business System - in progress
Food Menu - in progress
Service System - to do
POS System - to to
Oyster! - to do
Kitchen Equipment List - to do
Bar Equipment List - to do
Order Sign - to do
Order Growlers - to do
Order 32 oz. cans and labels - to do
Build draft system -check


Enjoying this series. My daughter and her husband are opening a bar. While not a brew pub their are many things here that are helpful for anybody opening a bar.